Sunday, 9 March 2014
DVD Label drawn design
As explained in the picture, on the background of the entire image on the label, I would like to go for a fiery atmosphere so I am going to use random shapes, that are filled with different shades of red and orange to create this atmosphere, along with some blood splashes etc as well, I saw this used on a disc for 'Red Dead Redemption' and quite liked it, so I thought it would be a good idea to incorporate my own idea for it, an example of the Red Dead Redemption disc shown below.
Font
I decided that the font I wanted to use for my DVD label and DVD case was called Diablo Heavy, downloaded from (http://fontzone.net/download/diablo-heavy) - I quite like this font as it is serif and has many interesting flicks etc within the font itself. In order to get this font I had to download it and then add it in to my system fonts from the control panel to ensure that it will be usable in Photoshop and Illustrator.
Wednesday, 5 March 2014
Self taught photoshop
Lightning Effect
In order to do this I had to firstly add a new blank layer, and then on this layer, I selected the Lasso tool and then drawn and selected an area that I thought would be the best place for lightning to be added.
Then I had to fill this area with white, and then draw, in black, a lightning bolt going downwards and also had to fill it in with the black brush the contents to the left of the lightning bolt, after this I had to apply the Guassian Blur effect, which blurs the edge of the black, as shown in the screenshot below.
After this I had to go to Filter, Render, and then Difference Clouds which looks like it did in the picture shown below.
After this I then had to invert the colours and change the levels of the darker colours, which after inverted, made the bright white lightning bolt stand out. Then after I had done this, if there was any parts that were left outside the lightning bolt that were not black, then I had to colour them in with the brush tool. Once I had filled in with black in all the lighter areas I then had to change the blend mode to 'Screen'. Which looked like this, shown in the screenshot below.
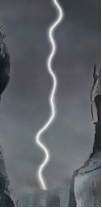
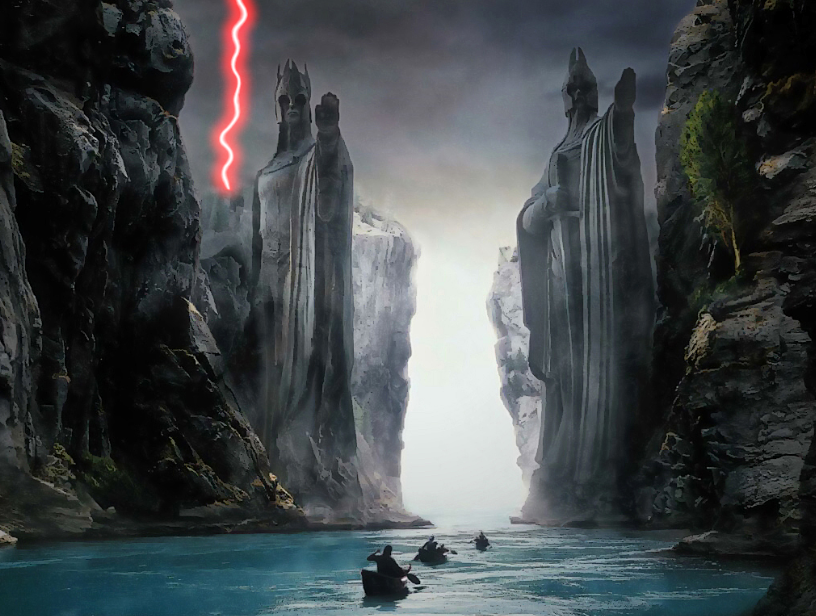
I then created a copy of the layer by pressing CTRL+J, and added the Gaussian Blur to this layer too, and then with this layer I can duplicate this layer as many times as I like to intensify the glow of the lightning. Then I can now change the colour of the lightning by changing the hue and saturation, and then setting it to colorize, in this instance I changed the lightning to a neon red, just to see what it would look like, and the finished lightning bolt is shown in the screenshot below.
In order to do this I had to firstly add a new blank layer, and then on this layer, I selected the Lasso tool and then drawn and selected an area that I thought would be the best place for lightning to be added.
Then I had to fill this area with white, and then draw, in black, a lightning bolt going downwards and also had to fill it in with the black brush the contents to the left of the lightning bolt, after this I had to apply the Guassian Blur effect, which blurs the edge of the black, as shown in the screenshot below.
After this I had to go to Filter, Render, and then Difference Clouds which looks like it did in the picture shown below.
After this I then had to invert the colours and change the levels of the darker colours, which after inverted, made the bright white lightning bolt stand out. Then after I had done this, if there was any parts that were left outside the lightning bolt that were not black, then I had to colour them in with the brush tool. Once I had filled in with black in all the lighter areas I then had to change the blend mode to 'Screen'. Which looked like this, shown in the screenshot below.

I then created a copy of the layer by pressing CTRL+J, and added the Gaussian Blur to this layer too, and then with this layer I can duplicate this layer as many times as I like to intensify the glow of the lightning. Then I can now change the colour of the lightning by changing the hue and saturation, and then setting it to colorize, in this instance I changed the lightning to a neon red, just to see what it would look like, and the finished lightning bolt is shown in the screenshot below.

Reference to photoshop lightning tutorial: http://www.photoshopessentials.com/photo-effects/lightning/
Setting up DVD label template
As you can see in the image above, it shows the correct dimensions in order to create my own template for my DVD disc label. The middle circle, which will eventually would get punched out has to be 8.7mm, and the plastic, transparent ring that goes around it would be 16.7mm. The disc itself would have to have an altogether height of 125.5mm, and a width of 117.5mm.
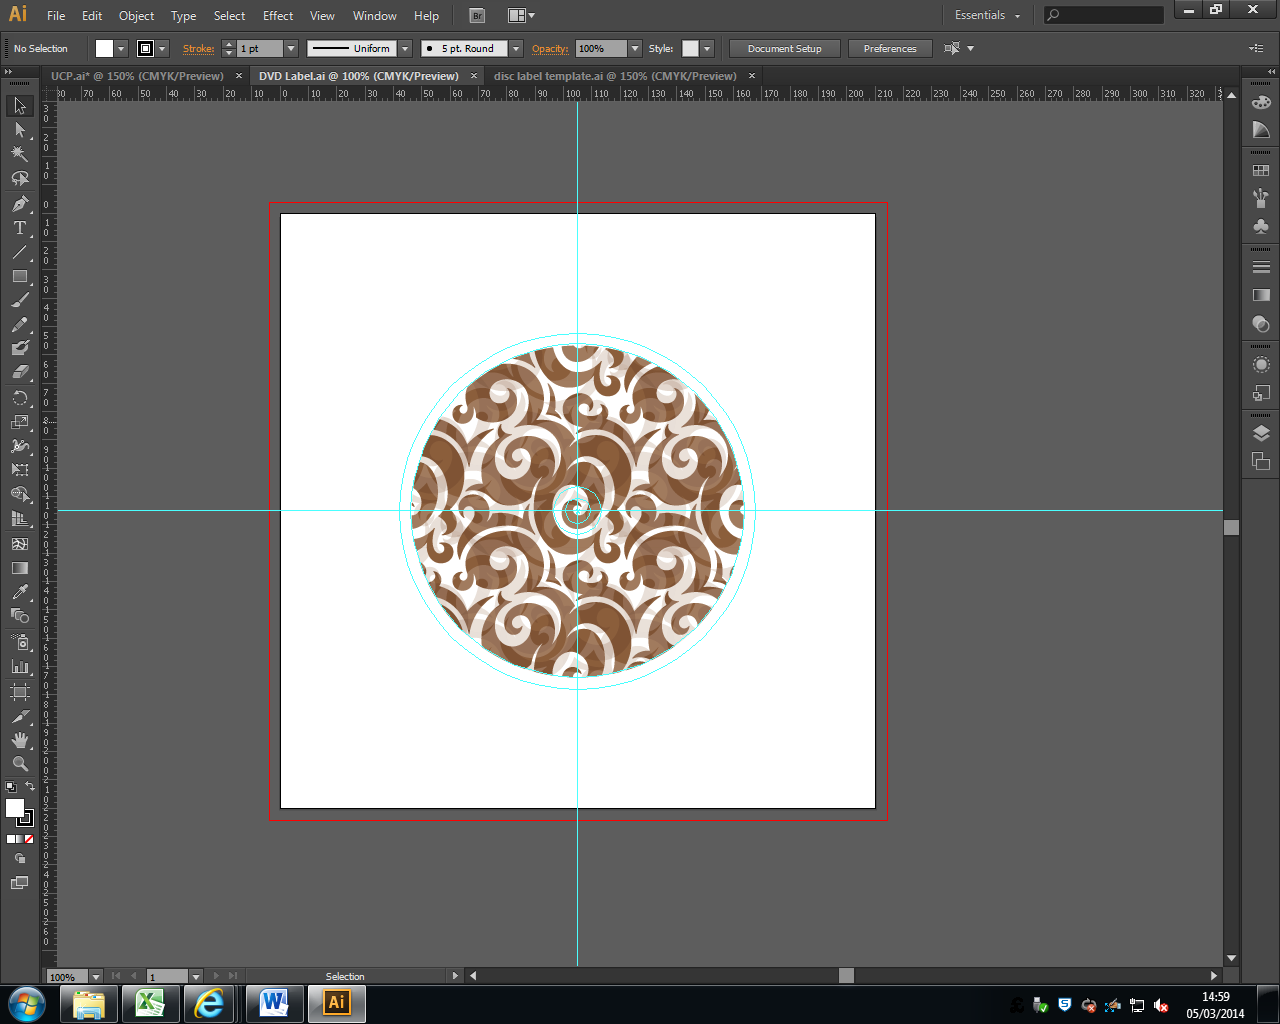
Shown above is the template that I created for my DVD label, it has all the correct required dimensions and a bleed area going around the disc (the circular cyan line).
As you can see in the image above, it shows the correct dimensions in order to create my own template for my DVD disc label. The middle circle, which will eventually would get punched out has to be 8.7mm, and the plastic, transparent ring that goes around it would be 16.7mm. The disc itself would have to have an altogether height of 125.5mm, and a width of 117.5mm.

Shown above is the template that I created for my DVD label, it has all the correct required dimensions and a bleed area going around the disc (the circular cyan line).
Subscribe to:
Comments (Atom)


