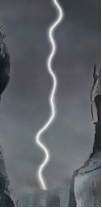
In order to do this I had to firstly add a new blank layer, and then on this layer, I selected the Lasso tool and then drawn and selected an area that I thought would be the best place for lightning to be added.
Then I had to fill this area with white, and then draw, in black, a lightning bolt going downwards and also had to fill it in with the black brush the contents to the left of the lightning bolt, after this I had to apply the Guassian Blur effect, which blurs the edge of the black, as shown in the screenshot below.
After this I had to go to Filter, Render, and then Difference Clouds which looks like it did in the picture shown below.
After this I then had to invert the colours and change the levels of the darker colours, which after inverted, made the bright white lightning bolt stand out. Then after I had done this, if there was any parts that were left outside the lightning bolt that were not black, then I had to colour them in with the brush tool. Once I had filled in with black in all the lighter areas I then had to change the blend mode to 'Screen'. Which looked like this, shown in the screenshot below.

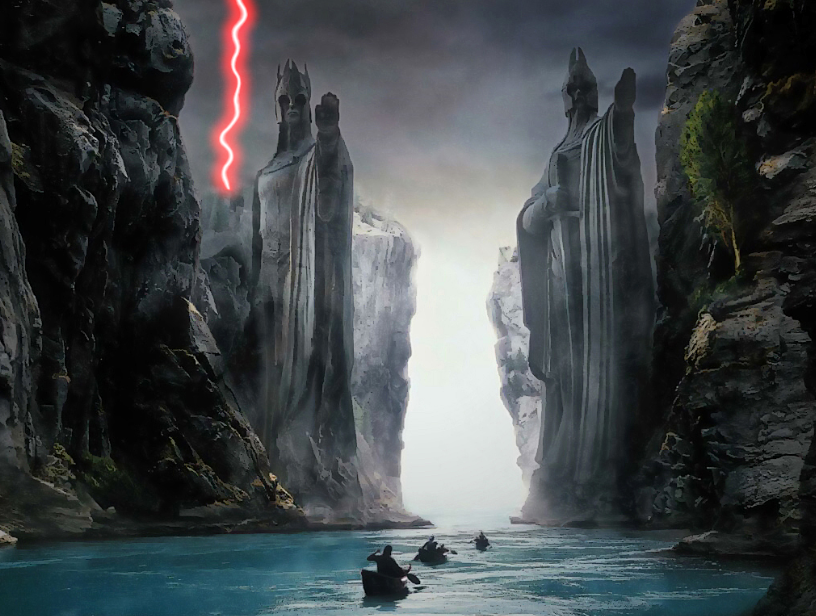
I then created a copy of the layer by pressing CTRL+J, and added the Gaussian Blur to this layer too, and then with this layer I can duplicate this layer as many times as I like to intensify the glow of the lightning. Then I can now change the colour of the lightning by changing the hue and saturation, and then setting it to colorize, in this instance I changed the lightning to a neon red, just to see what it would look like, and the finished lightning bolt is shown in the screenshot below.

Reference to photoshop lightning tutorial: http://www.photoshopessentials.com/photo-effects/lightning/


No comments:
Post a Comment